The Grouse Grind hiking guide
Grouse Mountain Skyride Admission Ticket
How long does the Grouse Grind take and is it free?
The Grouse Grind is free to hike and covers 2.9 km with about 850 m of elevation gain, almost entirely on stairs and root steps. Fit, competitive hikers finish in 25–30 minutes; most visitors take 1 to 1.5 hours, and less-conditioned hikers can take up to 2 hours or more.
| Cost | Free (pay only for the Skyride down) |
| Distance / gain | 2.9 km, about 850 m elevation |
| Time needed | 45 min (fit) to 2 hrs (first-timers) |
| Season | Roughly June-September; closed in snow/ice |
| Getting there | SeaBus + bus 236 from Lonsdale Quay, or car |
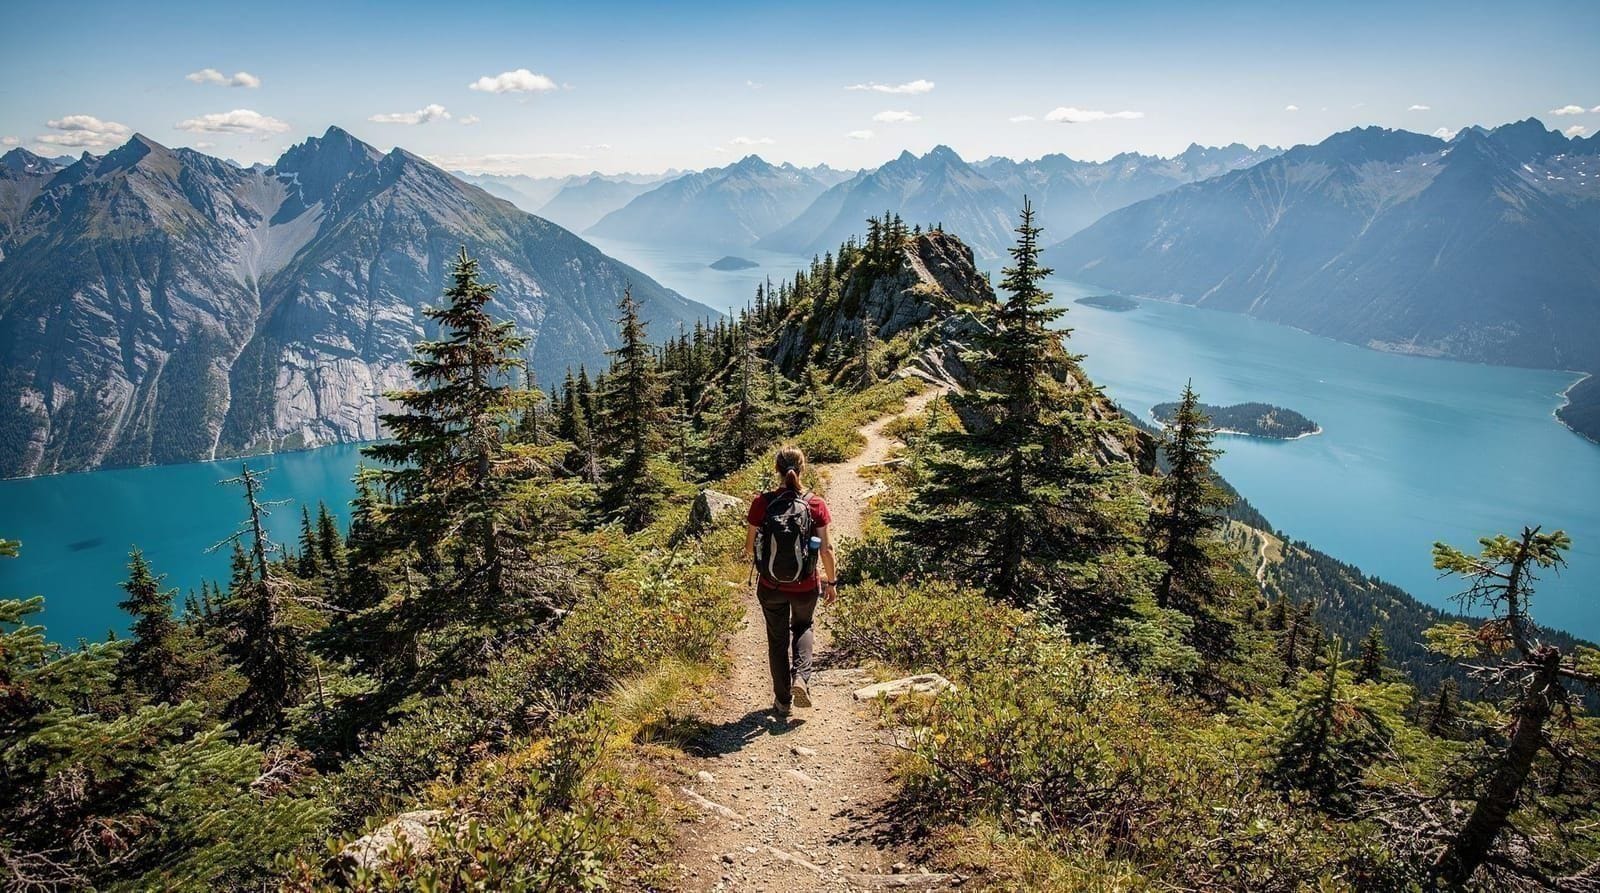
“Mother Nature’s Stairmaster” is the local nickname, and it’s not an exaggeration. The Grouse Grind is a 2.9-kilometre trail up the front face of Grouse Mountain in North Vancouver that gains roughly 850 metres of elevation almost entirely via stairs and root-covered steps, with essentially no flat recovery sections along the way. It’s free, it’s brutal, and it’s become something of a local fitness ritual — regulars time their ascents, some do it multiple times a week, and on a summer weekend the trail can genuinely feel crowded with a mix of serious athletes and first-timers who had no idea what they were signing up for.
The basics: distance, elevation, and what the trail actually looks like
The trail climbs from a base elevation of around 290 metres to Grouse Mountain’s summit chalet area at roughly 1,100 metres — an 850-metre gain packed into under 3 km of horizontal distance, which is what makes the grade so relentless. Much of the trail is built from wooden steps and stone risers reinforcing the natural slope, interspersed with sections of exposed root and rock where the trail hasn’t been formally staired. There’s no technical difficulty in the climbing sense — no scrambling, no exposure to real fall hazard — but the sheer, sustained steepness means it functions less like a hike and more like an extended stair-climbing workout through forest.
The trailhead is at the base of Grouse Mountain, in the same parking area used for the Skyride, about 20–30 minutes from downtown Vancouver by car or via SeaBus plus bus 236 from Lonsdale Quay.
Parking at the base fills up reliably on clear summer mornings by mid-morning, driven by both Grind hikers and Skyride visitors sharing the same lot. Arriving before 9am on weekends noticeably improves your odds of a close spot; arriving later means either circling for a space or parking further down the access road and adding a short walk to the actual trailhead. Transit users avoid this problem entirely, which is one reason the SeaBus-plus-bus-236 route from Lonsdale Quay is worth considering even if you have a car, particularly on a summer Saturday.
How long it actually takes
Finishing times vary enormously and are one of the trail’s defining features — the posted “personal best” times some hikers chase can be under 25 minutes, but that’s genuinely elite territory. For context: a fit, regular hiker typically completes it in 45 minutes to an hour; many first-time or less-conditioned hikers take 1.5 to 2 hours, and there’s no shame in that end of the range given how steep the trail is throughout. Bring more water and time than you think you’ll need on a first attempt, and don’t measure yourself against posted “record” times you might see referenced locally — those come from a small population of serious trail athletes, not a realistic benchmark for a typical visitor.
Free up, but not down: how the one-way system works
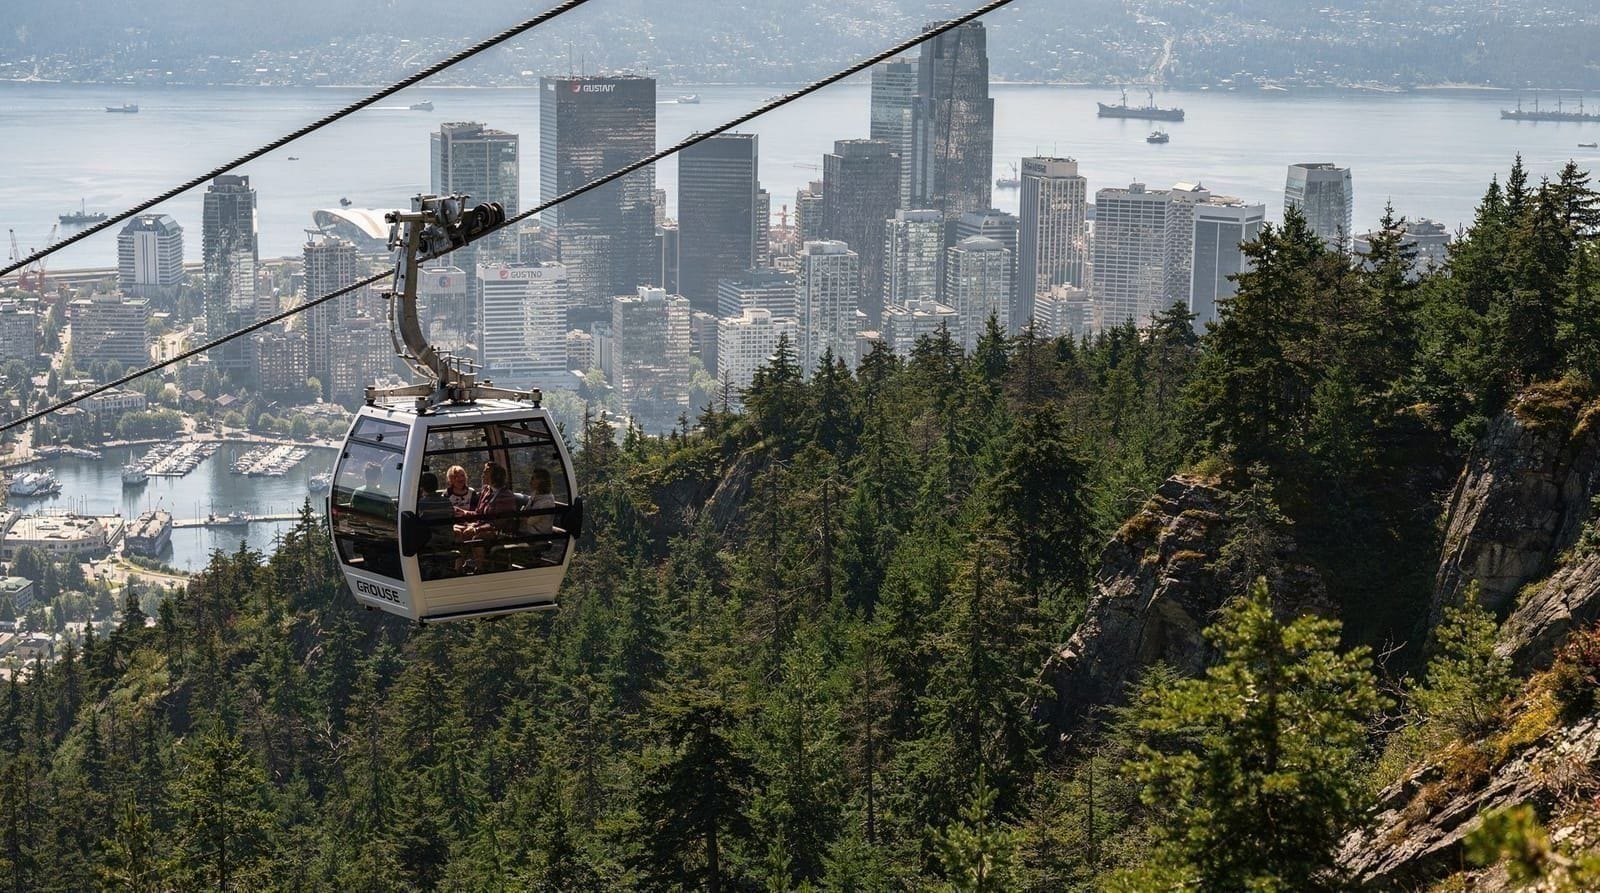
The Grind is free to hike — there’s no ticket, gate, or admission for the trail itself. What it doesn’t include is a way back down: descending the Grind is officially discouraged and, in wet weather especially, genuinely hazardous, since the same steep stairs that make for a good workout climbing become a real slip-and-fall risk on tired legs heading downhill, particularly on the sections without formal stair construction. Most hikers who reach the top pay for a Skyride ticket to ride the tram back down to the base, which takes about 12 minutes and is a welcome rest after the climb.
The free alternative is the BCMC Trail (named for the BC Mountaineering Club), which runs roughly parallel to the Grind and can be used both up and down — it’s slightly longer and, in places, arguably even steeper in sections, but it avoids the crowding that builds up on the Grind during peak summer hours, and using it to descend saves the Skyride cost entirely if budget is a factor. Many locals use BCMC specifically to descend after climbing the Grind, treating the two trails as a loop rather than an out-and-back.
If you already know you want the summit experience — the grizzly bear refuge, the lumberjack show, the views — without doing either climb, the express Skyride ticket skips the regular lines that build up at the base on busy summer days, and a combined ticket covering Grouse and the Capilano area is worth considering if you’re planning to see both North Shore attractions in a single day and would rather have transport and admission bundled.
Seasonal closures
The Grind typically closes for the season from around late fall through spring, when snow and ice accumulation on the steep, exposed sections makes it genuinely unsafe — this isn’t an overcautious closure, since the trail’s construction (wooden steps, exposed roots) becomes treacherous under snowpack or ice in a way that’s difficult to safely traverse even with proper gear.
Exact opening and closing dates shift year to year based on conditions rather than a fixed calendar, so check current status directly before planning a visit outside the core summer window (roughly June through September is the safest bet for a reliably open trail). Attempting the Grind when it’s officially closed is both against posted rules and a real safety risk, not a minor technicality.
What the climb feels like, physically
Hikers who’ve never done a sustained stair climb of this length are often surprised by which muscles complain first — it’s typically the quadriceps and calves well before cardiovascular fatigue becomes the limiting factor, a different sensation from a typical distance hike or run where breathing capacity is usually the first constraint.
Expect a burning sensation in the front of the thighs to set in within the first 15–20 minutes for most hikers, easing somewhat as the body adjusts but never fully disappearing until the trail levels out near the top. Taking short standing breaks (rather than sitting, which makes it harder to restart) every 10–15 minutes is a common strategy among less-conditioned hikers, and there’s no penalty for doing so — the trail has enough width in most sections to step aside briefly without blocking other hikers.
What to bring
At minimum: more water than feels necessary (a litre is a reasonable starting point even for a fast hiker, more for anyone expecting 1.5+ hours), layered clothing since you’ll be sweating heavily on the way up but the summit runs noticeably cooler than the base, and proper closed-toe hiking or athletic shoes with real tread — the root-covered sections in particular punish flat-soled sneakers or anything without grip. A phone with some charge is worth having, since parts of the trail have poor cell coverage but it’s still useful for photos and emergencies. Trekking poles are common among regular hikers but not essential for a single ascent.
Who should — and shouldn’t — attempt it
The Grind rewards a reasonable baseline of fitness; it’s not a technical hike, but the sustained, stair-heavy steepness over nearly 3 km is a genuine cardiovascular and muscular challenge, closer to a hard gym stair-climbing session than a typical scenic nature walk. First-time hikers in decent general shape can absolutely complete it, but should expect it to be harder than the distance alone suggests, and should budget real time (up to two hours) rather than assuming a quick outing. It’s not a good choice for young children, anyone with significant joint or mobility limitations, or hikers looking for a relaxed, conversational walk — for that kind of experience, the Skyride itself, or a gentler nearby trail, is the better fit.
The history behind the trail
The Grind’s origins are informal — it developed gradually as an unofficial route up the mountain’s front face used by local hikers, rather than being purpose-built as a maintained recreational trail from the outset. Its current staired, reinforced form is the product of decades of incremental trail work, much of it by volunteers and the North Shore Rescue and BC Mountaineering Club communities, aimed at reducing erosion and making an inherently steep, high-traffic route more sustainable.
That volunteer-driven maintenance history is part of why locals treat the trail with a degree of ownership and pride that’s unusual for what is, on paper, just a steep hiking trail — annual events, informal time-trial cultures, and a broader “Grind community” have grown up around it over the years, distinct from how visitors typically relate to a standard tourist trail.
Training for the Grind if you’re not a regular hiker
If you’re visiting Vancouver and want to attempt the Grind without regular hiking or stair-climbing conditioning, a few weeks of preparation meaningfully changes the experience. Stair-climbing machines at a gym are the closest equivalent training tool, since the trail’s demand is less about distance covered and more about sustained, repetitive leg exertion on an incline.
Even modest preparation — several sessions of 20–30 minutes of stair or incline work in the weeks before your trip — measurably reduces how punishing the actual hike feels, particularly in the calves and quadriceps, which take the brunt of the sustained climbing angle. That said, plenty of visitors attempt the Grind with no specific preparation at all and complete it successfully; the main cost of skipping training is a slower, more strenuous ascent and more significant next-day soreness, not an inability to finish.
Common mistakes and how to avoid them
The most common mistake is underestimating water needs — the trail is fully exposed to sun in a number of sections and offers no water source along the route, so hikers who bring less than a litre, especially on a hot day, frequently run short before reaching the top. The second is wearing the wrong footwear, particularly sandals or worn-out sneakers with minimal tread, which struggle on the root-covered and sometimes damp sections even in dry weather. The third is starting too aggressively — the trail rewards a steady, sustainable pace far more than an ambitious early push that leads to a forced slowdown or stop later on.
Finally, some hikers attempt the trail with young children or pets expecting a manageable family outing; while not explicitly prohibited, the sustained steepness and stair construction make it a poor fit for small children, and pets can struggle with both the terrain and the heat, particularly on warm days — the BCMC Trail or a gentler nearby option is usually a better choice for family groups.
Timing your hike around the Skyride and summit hours
Because most hikers plan to descend via the Skyride, it’s worth checking current Skyride operating hours before starting your climb, particularly later in the day — arriving at the summit after the last tram down would leave BCMC as your only descent option, a genuinely long and tiring way to end a day that already included a strenuous ascent. Starting by mid-morning at the latest gives a comfortable buffer for hikers in the slower range of typical finishing times, and starting at or near opening avoids both the day’s heat (a real factor on the more exposed sections in summer) and the crowding that builds through the late morning and early afternoon.
How it compares to Grouse Mountain’s other routes
The Grind is one of several ways to experience Grouse Mountain, and it’s worth being clear-eyed about which one matches your goals. If the summit experience — bears, views, the lumberjack show — is the priority and the climb itself isn’t the point, the Skyride gets you there in 12 minutes with none of the effort. If you specifically want the workout and the achievement of having climbed it, the Grind (or BCMC as a quieter alternative) is the way to go.
Our broader best hikes in Vancouver guide puts the Grind in context against the region’s other trails, and the Grouse vs. Cypress vs. Seymour comparison covers how Grouse’s overall visitor experience — including the Grind — stacks up against the North Shore’s other two mountains.
For visitors also considering Capilano Suspension Bridge Park, nearby and often paired with a Grouse visit, our Capilano vs. Lynn Canyon guide is a useful read if you’re trying to decide how to split a North Shore day between multiple attractions rather than dedicating a full half-day to the Grind alone.
What the trail markers mean
The Grind is informally divided into quarters by many regular hikers, tracked loosely against small distance markers along the route (their exact placement and format have varied over the years, so treat them as rough progress indicators rather than precise measurements). The first quarter is generally considered the easiest relative to what follows, a warm-up before the trail’s steepness increases.
The middle sections — roughly the second and third quarters — are where most hikers report the experience becoming genuinely difficult, with sustained steep stairs and fewer opportunities to catch a breather. The final stretch before the summit chalet levels out somewhat compared to the middle, which offers some psychological relief even if legs are already fatigued by that point. Knowing this rough shape in advance helps first-time hikers pace themselves rather than being caught off guard by the trail getting harder partway through rather than easier.
Is the Grouse Grind worth doing if you’re not aiming for a personal best
Plenty of visitors treat the Grind purely as a scenic, challenging hike rather than a timed athletic pursuit, and that’s a completely reasonable way to approach it — the local time-trial culture is real but entirely optional to engage with.
Taking breaks, stopping for photos through gaps in the canopy, and simply treating the two-plus hours as a solid workout with a mountain-summit payoff at the end is how most visitors actually experience the trail, regardless of how the “Mother Nature’s Stairmaster” reputation might suggest a purely competitive atmosphere. The sense of accomplishment at the top — knowing you climbed 850 vertical metres under your own power rather than riding a tram — is, for a lot of hikers, the entire point, independent of how fast it took.
Practical tips for a smoother climb
Start early — the trailhead and lower sections get genuinely congested by mid-morning on summer weekends, both from crowding on the narrow stairs and from parking filling up at the base. Weekday mornings, by contrast, can feel almost sparse in comparison, with far more room to set your own pace without navigating around slower or faster groups on narrow staircase sections.
Pace yourself deliberately rather than starting fast; the trail has no flat sections to recover on, so an aggressive early pace often backfires by the halfway mark. Step aside to let faster hikers pass on narrow sections rather than blocking the trail, since a wide range of speeds share the same path. And check current trail status before driving out, particularly in shoulder seasons (October–November, April–May), since closure timing depends on conditions rather than a fixed date.
Frequently asked questions — The Grouse Grind hiking guide
How long does the Grouse Grind take?
Times vary widely by fitness level. Elite and competitive hikers finish in 25–30 minutes; a fit, regular hiker typically takes 45 minutes to an hour; less-conditioned or first-time hikers commonly take 1.5 to 2 hours, sometimes longer. There's no shame in the slower end — it's a genuinely steep trail.Is the Grouse Grind free?
Yes, hiking up the Grind itself is free with no ticket or gate. You only pay if you want to ride the Skyride tram back down, since walking down the Grind is not permitted for safety reasons.Can you go down the Grouse Grind?
No — descending the Grind is officially discouraged and, in wet or icy conditions, genuinely hazardous, since the same steep stairs and root steps that make it a workout going up become a fall risk going down with tired legs. Hikers either pay for the Skyride down or descend via the adjacent BCMC Trail, which is also free.When does the Grouse Grind close for the season?
The trail typically closes from around late fall through spring due to snow and ice, though exact dates shift year to year with conditions. Check current status before planning a visit outside the summer season, since attempting it when officially closed is both against the rules and genuinely dangerous.How hard is the Grouse Grind really?
It's steep and relentless rather than technical — no scrambling or exposure, but continuous stair-like steps for the full 2.9 km with almost no flat sections to recover on. It's a serious cardio and leg workout even for regular hikers, and a legitimate challenge for anyone who doesn't hike or exercise regularly.Do I need to buy a Skyride ticket to hike the Grind?
Not to hike up — the trail itself is free and separate from the Skyride. You only need a ticket if you plan to ride the Skyride down afterward, or if you want access to the summit's other paid attractions like the grizzly bear refuge.
Top experiences
Bookable activities with verified prices and instant confirmation on GetYourGuide.